Guaranteed Authentic
100% Money Back Guarantee
100% Money Back Guarantee
Rocky Bleier Signed "The Play" Program 11x17 Photo. All signed items come with TSE digital authentication and a 100% Money Back Authenticity Guaran...
View full detailsRocky Bleier Autographed Vs. Cardinals 8x10 Photo with "4X SB Champs". This signed item comes with TSE digital authentication and a 100% Money Bac...
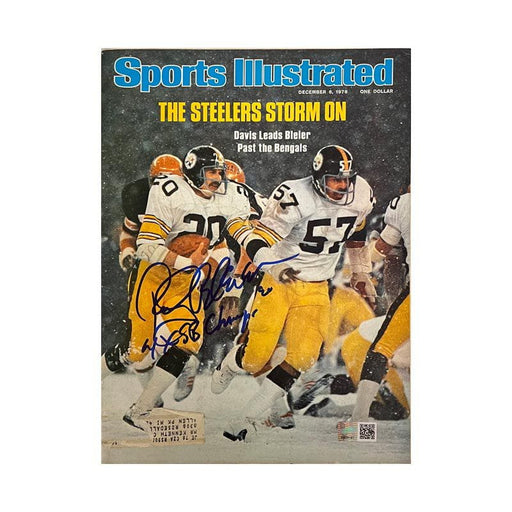
View full detailsRocky Bleier Signed Sports Illustrated Magazine Running in Snow Edition. This signed item comes with TSE digital authentication and a 100% Money Ba...
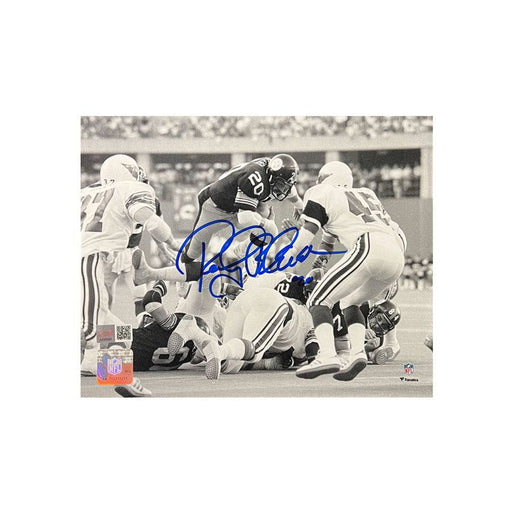
View full detailsRocky Bleier Autographed Vs. Cardinals 8x10 Photo. This signed item comes with digital authentication and a 100% Money Back Authenticity Guarantee...
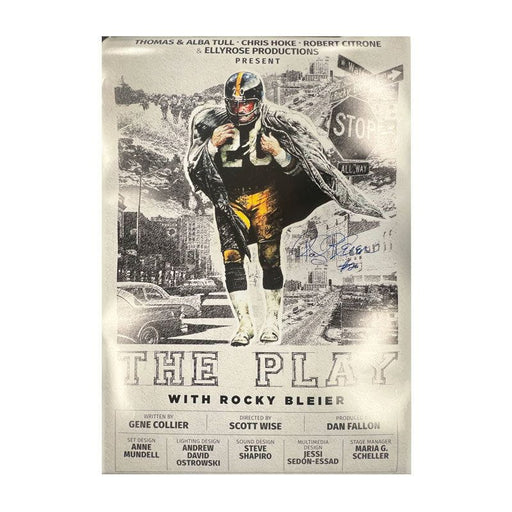
View full detailsRocky Bleier Signed "The Play" Poster Photo". This signed item comes with TSE authentication and a 100% Money Back Authenticity Guarantee. Total Sp...
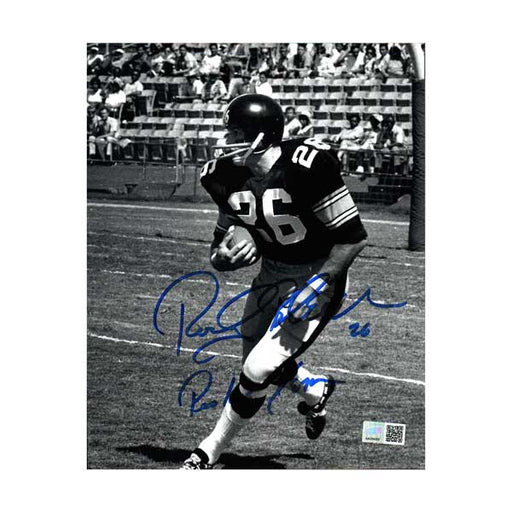
View full detailsRocky Bleier Autographed Running with Football #26 Rookie Year 8x10 Photo with "Rookie Year". This signed item comes with a tamper proof hologram,...
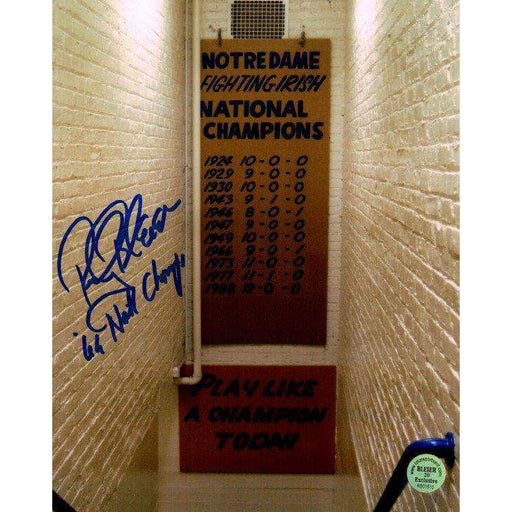
View full detailsRocky Bleier Autographed Banner in Tunnel 8x10 Photo with '66 Natl Champs. This signed item comes with TSE digital authentication and a 100% Mone...
View full detailsRocky Bleier, Andy Russell and Jack Ham Signed Steelers Logo 16x20 Photo. All signed items come with TSE digital authentication and a 100% Money Ba...
View full detailsRocky Bleier, Andy Russell and Jack Ham Signed 3 Rivers Stadium Field 16x20 Photo. Rocky Bleier with "SB IX, X, XIII, XIV" Jack Ham with "SB IX, X...
View full details